Sunday, May 23, 2010

Learning New Things...

I know...
I know...
I should have helped Simon ride a bike sooner,
but we kind of stayed with a tricycle up till now.
So....
this weekend we got him all set up with his very own
bike (from his cousin)
and big boy helmet. It takes a lot of training...
a lot of cheering on (from his cousins)...

an even a few brakes to let others ride...

but we're getting there...
slowly, but surely!

Save Your Jeans!

Here's a great way to SAVE your favorite pair of JEANS!
If there are holes in your jeans, then try this project...
First, turn jeans inside out.
Next, iron on No-Sew Adhesive Bond to a square of two fabrics.
ONE of the squares will be seen through the hole in the jeans.
So you will have TWO equal squares...
one of them will be seen,
and the other square will be ironed to the back
(like the picture below).
Then, you will place your squares of fabric over the hole on the INSIDE of the jeans.
Turn inside out and PIN over the TOP of the jeans
(like the pic below).
At this point, you will have your hole covered from the inside,
but you will have it pinned from the outside so you can stitch.

Next, take some thick embroidery thread (4-5 strands)
and begin stitching a basic stich around the hole.
It doesn't have to be perfect!
The messier...
the better!

All Done!
These pictures aren't perfect,
but you get the idea!


Instead of ratty 'ol holes,
you have some cuteness to show off...
and get to keep those comfy, cozy, worn-out,
favorite pair of jeans!

Thursday, May 20, 2010

Ribbon & Lace

I tried a new technique today...
a little ribbon around the neckline,
and some lace at the base...
something' a little sweet for Baby Faith.
Happy Birthday, Sweet Girl!

Monday, May 17, 2010

Easy Re-Fashion T-Shirt

I bought a fun green shirt at Old Navy
for $1.25 and wanted to spice it up a bit.
Try this little project for yourself...
First, get your t-shirt and fabric.
I always choose fabric that has hints of the same color in it.
Cut a strip of fabric (3.5"x 25")
Fold (right side to right side).
Then sew up 3 of the sides.
Use a chop stick to turn the strip right side out.
Then sew up the fourth side.

Next, begin folding and pinning the strip
along the collar, or V-Neckline.
Start at the shoulder and work your way down
to the length you want.
Fold it like you would when you make a paper fan
(kind of like an accordian).
Then sew in the center of your strip
with matching thread.
I used a double stitch to ensure it would stay.

All done!
The project took about 20 minutes and cost less than $2.
I personally love it!
You can make your strip any way you want.
You can creat a flower or zig-zag
or whatever design suits your fancy.

A great way to add some flair to a plain ol' T!


Thursday, May 13, 2010

Picture/Note Holder

This sign can hold notes, cards and photos.
It's super cheap and super easy!
The tutorial is a few posts down...
the only difference is that I added a
paper flower for some spice.Have fun, girls!

Ribbon Flower Headband

This little headband cost about $1.20!
Headband was in the Dollar section at Target.
The ribbon was left over from some crafts.
Just take one side of the wire out on the ribbon
and gather.
Then hot glue it on a backing (like cardboard).
Glue it in a circle,
till the flower gets fuller and fuller.
You will end in the middle of the ribbon flower.
Tuck the middle in and hot glue it down.
Then glue it to your headband.

Go try it!
Happy crafting!


Sunday, May 9, 2010

Pretend City with the Cousins!

It was a sweet Mother's day weekend...
one that I won't forget!
One of the highlights that blessed me was seeing sweet Simon
PLAY hard with his cousins at Pretend City.
Ryan and Simon are 5 months apart and
absolutely LOVE each other!
From driving through town...
to cookin' in the kitchen...
these two had a ball!


Simon takes after his daddy and has a love for the
field of Science...
I was a little nervous he would squeeze my arm too hard...
explains the scared facial expression!

Dave saying, "I LOVE you, Jeanne!"
Just what I needed to hear this weekend;)


Oh, am I one thankful Mommy!
May EACH and every Mommy who sees this blog post
be BLESSED beyond measure!
You are valuable, loved, adored,
and cherished by your beautiful child (or children)!
When you get tired and weary...
go take a breather...
then come back...
look at your miracle of life...
and squeeze and love the heck out of 'em!
Children are a blessing...
PERIOD!
Happy Mother's Day!

Saturday, May 8, 2010

Bubsies has been featured...

I was featured on this AWESOME blog yesterday!
Thank you to Creative Juices!
I am honored!!
Check them out friends!

Easy Mod Podge Sign Picture-Holder Tutorial

There's nothin' like crafting
that gets my mind off things...
keeps me busy and HAPPY!
I love this one...
It's for my Mother-In-Law for Mother's Day.
Give it a try at home!
First, get an old piece of wood and wire to hang the sign.
Get your favorite (light-colored) scrapbook paper.
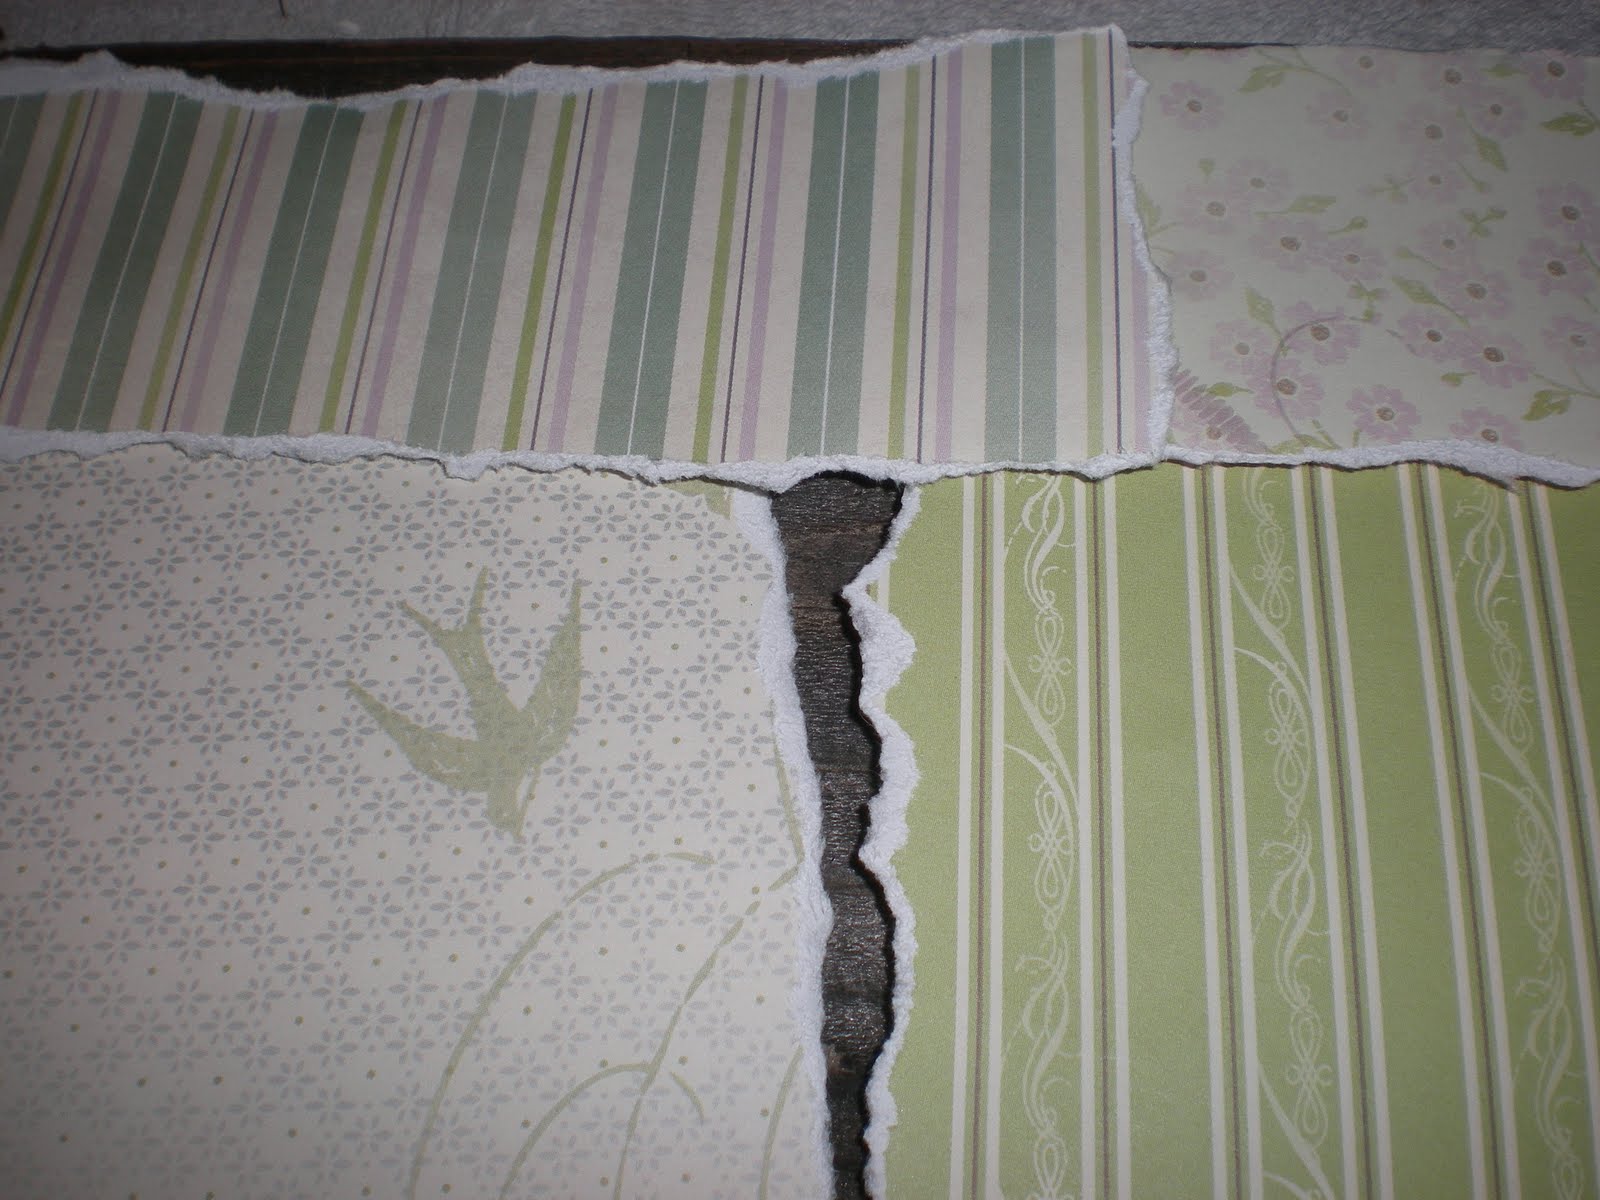
Tear the edges off several pieces and create a backing for your sign. Lay out the pieces, overlapping all the edges.
Then, use Mod Podge Matte Finish underneath the scraps
to adhere them to the wooden sign.
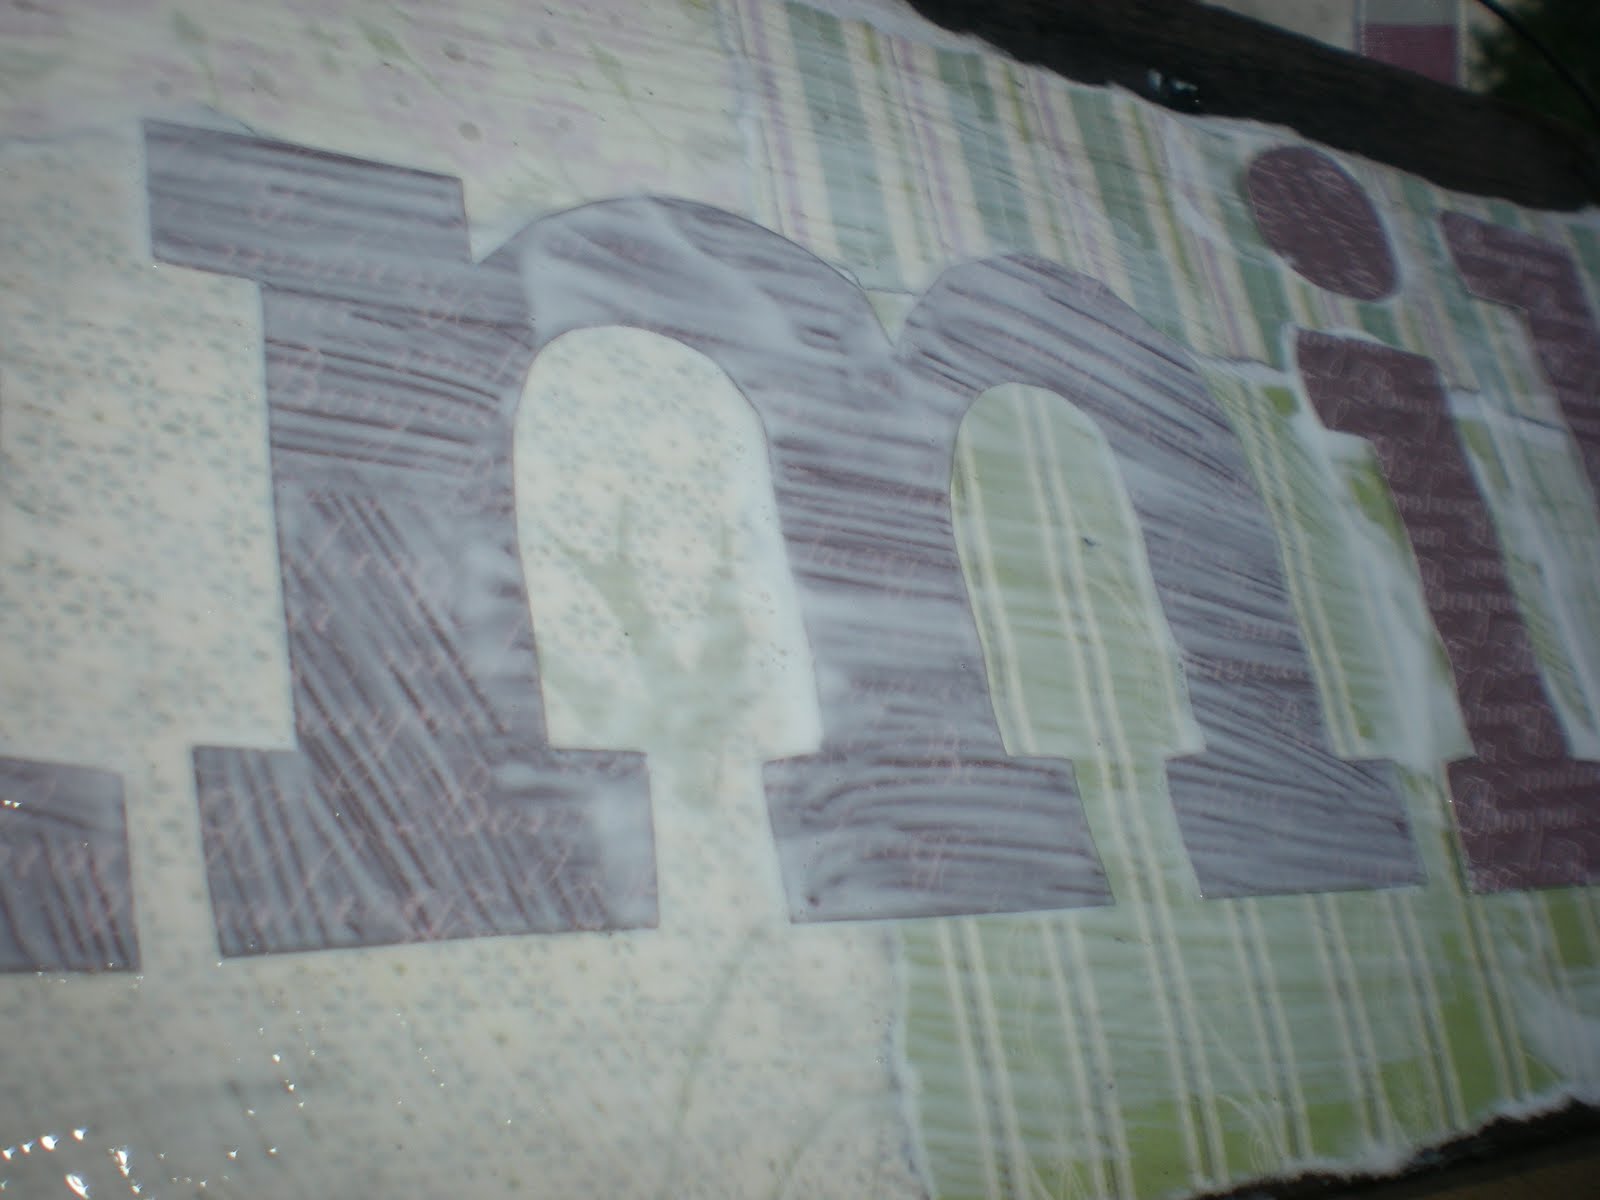
Next, paint overtop of your scraps,
like the picture below.
Then, trace and cut out your letters in a darker colored paper.
I made the word "family."
This will be used as a family picture holder
of all my mother-in-law's grandchildren.

Mod Podge the letters on top of the scrap-covered sign.
Then paint a final coat overtop of the entire sign.
Let dry for a few hours.
The Mod Pdge will give it a thick coat and a nice finish.

Mod Podge your clothespins with a light-colored paper.
Then hot-glue gun the clothespins
on top of the sign.
Spread out the clothespins between the word.


Cute clothespins:)
All done!
It is hung with wire and I tied some ribbon and raffia in the corner
(that's hard to see).
She can even use this sign to post cards, drawn pictures,
or stick with photos.

Happy Mother's Day to ALL you Mommies out there!
May you be blessed when you
look into the eyes of your children
and see the miracle of life!


Thursday, May 6, 2010

Be Encouraged...


Click on the picture...
and turn your speakers on...
and praise your Father in Heaven!


"It's Gonna Be Worth It"
I don't understand Your ways

Oh but I will give You my song

Give You all of my praise

You hold on to all my pain

With it You are pulling me closer

And pulling me into Your ways

Now around every corner

And up every mountain

I'm not looking for crowns

Or the water from fountains

I'm desperate in seeking, frantic believing

That the sight of Your face

Is all that I needI will say to You

It's gonna be worth it

It's gonna be worth it

It's gonna be worth it all

I believe this

It's gonna be worth it

It's gonna be worth it

It's gonna be worth it all

I believe thisYou're gonna be worth it

You're gonna be worth it

You're gonna be worth it allI believe this

You're gonna be worth it

You're gonna be worth it

You're gonna be worth it all

I believe this

-Lyrics By Rita Springer


Be encouraged by the HOPE you will

ONLY find in Christ,

YOUR Savior!


Sunday, May 2, 2010

Fabric Word Art Wooden Sign Tutorial

Here's a craft that is SUPER EASY
and inexpensive that you HAVE to try!
Ready, Set, CRAFT!
First, get your Mod Podge,
paintbrush,
letters of choice, fabric,
and wooden sign with wire attached.
Then, trace & cut out the letters on your fabric
in prints that fow together.
I stuck with greens, blues, and yellows.
Each fabric had a splash of the same colors in them.
Arrange your fabric letters on your sign.

My husband got a hold of camera;)
This is ME crafting in our backyard...
GREAT place to craft, girls!
Paint Mod Podge over top of the entire sign,
or under each letter.
Carefully place the fabric letters on top of the Mod Podge.

Then, paint over the letters after about an hour or so,
giving it a coat of whatver finish you chose.
I have the Matte Mod Podge,
so it's not glossy looking.

And...voila!
The word "faithful" is set in place for good!
I added some raffia and ribbon
on the wire for extra spice.
It takes about an hour total for this project...
go try it!

Happy Birthday, Erin...
to a woman who is one of the most
faithful friends and woman I know!

Saturday, May 1, 2010

Personalized Initial & Ruffle Buns Onesie Tutorial

Here's a fairly easy sewing project
that you should try for the next Baby Girl Shower
you attend...
First, get a plain onesie, rotary cutter, 2 favorite fabrics,
a plastic ruler to cut and measure,
a cutting mat and adhesive bond.Next, cut 3 strips of fabric,
14" x 1.5" (or so- whatever you want).
Use the gathering stitch to sew along
the middle of each strip of fabric.
Then pull thread
(like the below picture).
Once all the strips are gathered,
pin at the bottom of the back of the onesie, then SEW.
These ruffles will be on the baby's booty
and look SUPER cute!
I cut my edges so they would fray.
I personally like the way it looks...kinda edgy, but sweet too.
You could always cut the strips with pinking shears
to avoid the major fray. For the letter,
I traced a cardboard letter onto my adhesive bond.
Then I ironed it to the fabric,
then cut it out,
then ironed it to the onesie.
Finally, sew with a double stitch
on the letter.
Sorry this pic is shaded...
I finished after dinner so it was getting dark!

But it's done...
I'm giving it at a shower today...
and Baby Abby will look adorable in it!
CONGRATS Hannah!