Wednesday, April 28, 2010

Ruffled-Tulle Baby Girl Shirt Project

Here's pretty easy sewing project
that you could give to the new baby girl in town...
Here goes...
First, get a cute, capped-sleeve shirt from Old Navy for $5.
Use left over 1"-2" strips of tulle
(that you happen to have lying around the house).
The strips should be 16-20" long.
You should have 3 total. Next, use the "gathering" stitch on your sewing machine
and sew in the middle of the 3 strips of tulle.
Then pull the thread in the middle of your stitch
and "gather" the tulle,
making it about 6 inches long.
Pin the gathered tulle (like the above picture).
Do the same with the other 2 strips...
BUT make those about 4" long once you gather.
Pin the strips so the longest one is in the middle
and the 2 shorter ones are on the sides of it...
kind of like a tuxedo effect,
but the girly version.

Finally, pick some cute ribbon for the capped sleeves.
Fold one end under and sew on the ribbon,
making sure the other end is folded under as well
(it looks cleaner that way).

It's hard to see the ruffles in the picture,
but it turned out SUPER CUTE and perfect for the
new Princess on the block!


Happy Sewing!

Tuesday, April 27, 2010

Crafts on a Dime

Today I am posting two crafts that my friends
have created!
I thought they were too cute
so I'm bragging on their craftiness...
Hannah made this sweet Wooden Letter Gift
using Mod Podge,
paint,
fabric,
scrapbook paper,
and a button.
It made for a personalized, 3-Dimensional,
treasured gift for someone special.
My friend, Misty, made this FABULOUS
Homemade "Favorite Sweet Tooth Dessert" Recipe Booklet!

Inside, I found ALL of my favorite
delicioso,
calorie-FILLED,
crave-satisfying,
sweet-tooth hungering,
AMAZING recipes
that I LOVE!

Try these great project gift ideas!
Thank you for sharing, girls!!

Monday, April 26, 2010

Happy Birthday to ME!

I had a MAJOR birthday week last week!
Birthday Celebration #1Birthday Celebration #2
Birthday Celebration #3

Now I have to work-out DOUBLE
to reduce my BIG Birthday Booty
with all the desserts I ate!
But I am one grateful 34 year old!

Re-Use & Re-Purpose Old Glass Jars Project

I am trying to use some of the old glass jars
that I have held onto.
I found an idea somewhere
(props to whoever invented this...
I can't remember where I found it)...
Anyhoo...
here is a few steps to
Re-Using and Re-Purposing...First, get some acrylic paints of your colors of choice.
I reccommend using
shades of green and blue.
I used burgandy in some of these pics
and it turned out looking like the marinera sauce that came in it!
** Trial and Error:)
Next, squirt most of the tube of paint inside the jars.
Roll the jars around
WITH the lids on, of course.
Allow paint to cover all areas of the jars.
You will probably have to roll again later on
because the paint kind of slides downward.
Then, keep upside down overnight.
Make sure paint is all over the inside.
Finally take off lid to air out and dry the paint.

I needed some color to spice up the top of my entertainment center.
FYI...I have some friends, Kristi and her sister, Kim,
who put this little ensemble together on the suitcase...
LOVE IT, girls!!!
Now, go get those old jars
and spice up a shelf, table top, or whevever...
Re-USE and Re-Purpose...
it's easy, cheap and looks cute!

Tuesday, April 20, 2010

"Family" Burlap Bunting Tutorial

Here is a fun, easy, and inexpensive craft
you can make for yourself or give as a gift.
Here goes, ladies...
First of all, make a long triangle pattern to trace with.
Next, trace 8 triangles on a piece of burlap.
Cut triangles out.
Then, find pieces of fabric that you would like to work with
in a color scheme that fits your style.
Next, take your No Sew Adhesive Bond and trace your letters out
in the word you would like to feature.
In this case, I chose "family" because it is
simple, yet sweet
and will hopefully be displayed in
a livingroom where the family gathers.
After you trace your letters on the No Sew,
iron them onto your fabric.
Hint: I tried to use reds, whites, and blacks
and arranged the letters so the fabric all went together
f-a-m-i-l-y.

After you cut out your fabric letters,
peel off the backing and iron them onto your bulap triangles.

Next step is to sew you burlap triangles onto a
jumbo rick-rack.
I sewed it twice to make sure it would stay.

All done!
The picture doesn't do it justice...
it looks super cute in person
(at least in my opinion:)
I added a red and white polka-dot triangle
to the ends of the word,
which added a little more color and jazz to the bunting.
Hopefully this can be put up on special
birthdays or occassions where
others are gathered.
Hope your birthday was the best yet, Kelly!
Enjoy, my sweet friend!

Monday, April 19, 2010

Sweet Friends...

This week is my 34th birthday...
yahooo!
It's got me feeling pretty nostalgic and thankful...
all rolled into one.
This birthday, I am MOST thankful for my life as a
stay-at-home mommy and the amazing friends
that I have,
and my sweet boy, has in his life!
Simon LOVES his buddies!
He really adores them...for reals!
Whether they are older and play more "maturely"...

or the same age and party like rock stars...

or PLAY hard as boys always do...
with their shirts off, of course...
Simon is a BLESSED little boy.
He knows it.
I know it.
WE are thankful for each life that touches him
and teaches him new things.
I am thankful for each mommy who have
taught me how to be more patient,
how to divert their attention when they're buggin',
how to cook quick, easy, cheap meals in 5 minutes or less,
how to save money while shopping for groceries,
and search for great finds at garage sales,
how to decorate my new home and make it look RAD (AND cozy),
how to listen,
how to laugh more at life,
and how to love others.
Happy Birthday to ME!
I am a BLESSED woman because of those who I walk this life out with.
Cheers...Mamas!

Friday, April 16, 2010

Divine Cookie Recipe

I had to share an awesome recipe
that Simon and his sweetie, Naomi, made.It's out of the Costco Cookbook
that they give away FREE
the day after Thanksgiving!
I have 4 of them...
one from each year.
You should seriously go and pick one up
next year after Turkey Day!
Recipes are
SIMPLE,
FAST,
and most ingredients come from Costco.
The kids made these entirely by themsleves...
well, almost;)
Best Ever Peanut Butter-Oatmeal Cookies
2 cups of oats
2 cups flout
1 tsp baking powder
1 tsp baking soda
1 cup butter
1 cup peanut butter
1 cup sugar
1 cup brown sugar
2 eggs
2 tsp vanilla
(1 12-ounce pkg of semi-chocolate chips- optional)

Cream together butter, sugar, eggs, vanilla.
Separate bowl, combine all the dry ingredients.
Combine ALL ingredients together. Stir well (or use a mixer).
Bake at 350 degrees for 13 minutes.
Makes 6 dozen.
**HINT: Make a dozen, or however much you need.
Then FREEZE the rest for another night.
That way the cookie dough is already to bake and you have
FRESH cookies for your guests!

ENJOY!
(thanks Naomi!!)

Thursday, April 15, 2010

Need Some Help?

"You need some help pushing that big thing,
Little Guy?""Nope...I can do it myself!!!"

Monday, April 12, 2010

Companion Dish Towel Gift

This Dish Towel was easy to make as well...
Just pick a few fabrics that go together.
Trace our image on Heat N Bond Lite.
Iron on your fabric and cut out your image.
Iron it on your Micro Fiber Dish Towel.
Sew on the image.
Good Job, girls!
Cheap...
Easy...
FUN...
and it blesses someone special!
Go SEW!

Ruffle Dish Towel Tutorial

Here's a GREAT gift for anyone who cooks in the kitchen!
Here goes...
You will need:
fabric of your choice
thread
Jumbo Rick-Rack
rotery cutter and scissors
ruler & cutting board
pins
sewing machine
micro fiber dish towel (Wal Mart or Target...2 for $3)First, cut a strip about 7 inches in width and double the length
of your fabric of the
dish towel that you are working with.
Next, fold so that the print is facing each other
(right side to right side).
Sew up 3 edges of you strip, leaving one side open.
Take a chop stick and turn inside out,
so that you are seeing your strip with the print facing outward.
Then, sew up the last edge,
turning the edges inward and sewing on top.
Like the above picture.

Next, start pleating the strip of sewed fabric.
Pin as you fold each pleat.
It should look like the above picture.

Once pinned,
start sewing along the edge of your dish towel
(about half and inch from the edge).
Finally, pick a color of jumbo Rick-Rack
that compliments your fabric.
Fold edge and pin along the seam of your pleated sewn fabric.
Sew on Rick-Rack.

All Done!
This dish towel took me about 30-45 minutes and cost about $3 total.
You can make a companion dish towel to go with this.
It is an easy, fun gift that could be given for
Mother's Day, birthdays, hostess gifts or
a Thank You to someone special.
(THANK YOU, Barbara!)

Ahoy Matey...

Super Cute Idea...
Little boys love pirates!
I got a Pirate book at our library...
read it in my best Pirate accent...
looked up some pirate crafts...
made a pirate hat...
and of course, the treasure chest craft made out of popsicle sticks...and...
had him pose for my blog.
His wink is very authentic..don't ya think?!

Sunday, April 11, 2010

"Scrabble" Word Craft

I found an awesome blog,
that has a Scrabble Craft.
Just bought the game at a garage sale for 50 cents!
Here's a quick version of a Mini-Tutorial...
Check out the blog I found it on too!
Here's the Supplies:
Mod Podge
Scrabble letters
stamp pad
scrap paper
glue gun
and small piece of wood or old sign.
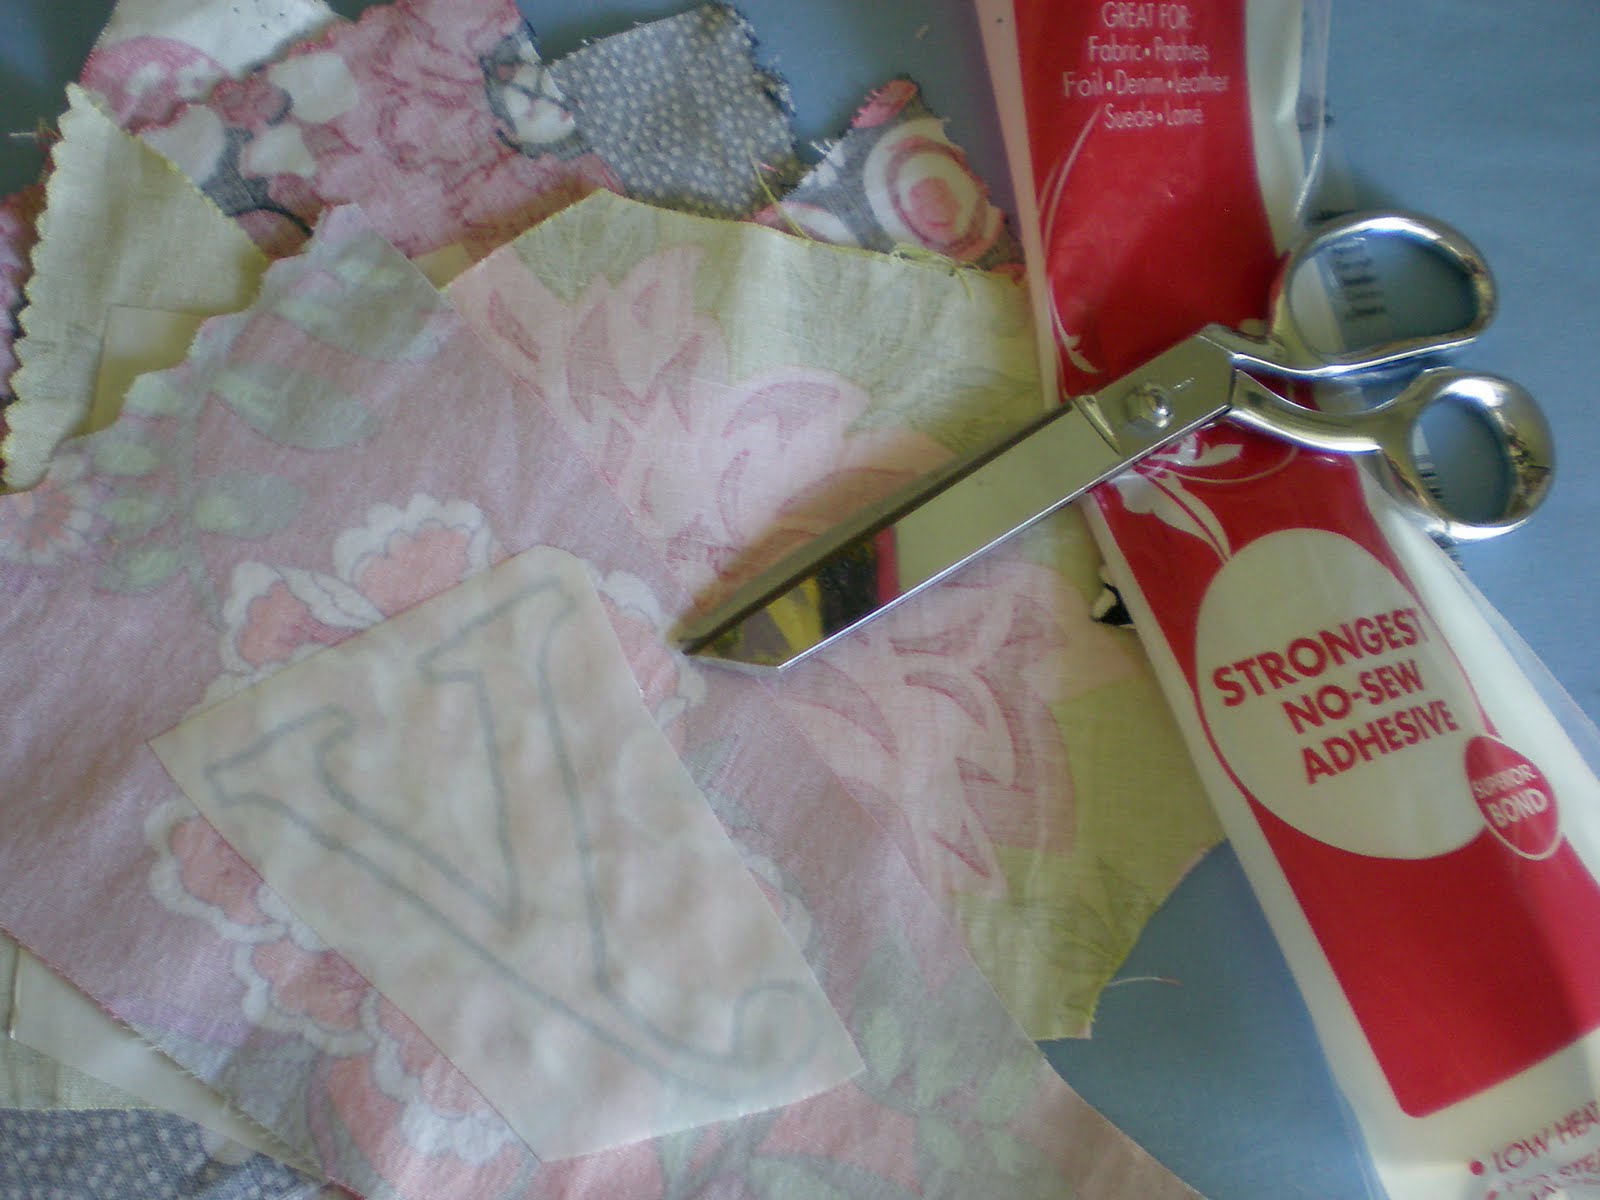
First, cut the paper the same size as the piece of wood.
Next, scrape the edges of the paper to create a "distressed" look.
There is a "distressed" ink pad, but I only had a regular one.
I was happy with the result of mine,
but if you have a few bucks, go buy a distressed pad for future projects.
After it got distressed,
I Mod Podged it to the wood.

Then, I cut a small strip to accent the sign,
and Mod Podged it on top in the middle.

Next, I gave each letter a distressed look.
Then I hot glue gunned letters in the middle of the sign.

All done!
It's that simple!
I chose "Yahweh"
because it means "I Am, or The Lord."
Something I want to be reminded of each and everyday...
that The Lord WAS...
He IS...
and ALWAYS will BE!
What's your word that inspires you?
Get crafting, ladies!

Family Vacay!

Just got back from Palm Desert
with Dave's parents....
Just what the doctor ordered...
RELAXATION
and a whole lotta family time!
Dave's Dad, Dave, and Simon on the putting green...
golfing is in the blood!
That's Simon and I...
sitting on the Dino's claw...
one of my favorite places to stop on the way to the desert.

Gotta take the cheesy tourist pictures:)
Simon has a WAY better swing than I do...
for reals!
Simon learned several card games on this trip...
WAR is his new favorite...
it blows Go Fish outta the water
(pardon the pun).

BEST family vacay EVER!
Refreshed, refueled and ready to go....